Creating with Clay - The Process
Depending on how you look at it, the clay creation process can be excruciatingly drawn-out, or a beautiful slow-journey of learning non-attachment. However you see it, there’s some parts of the process that cannot be overlooked. Keep reading to get a glimpse into the steps of ceramic creation.

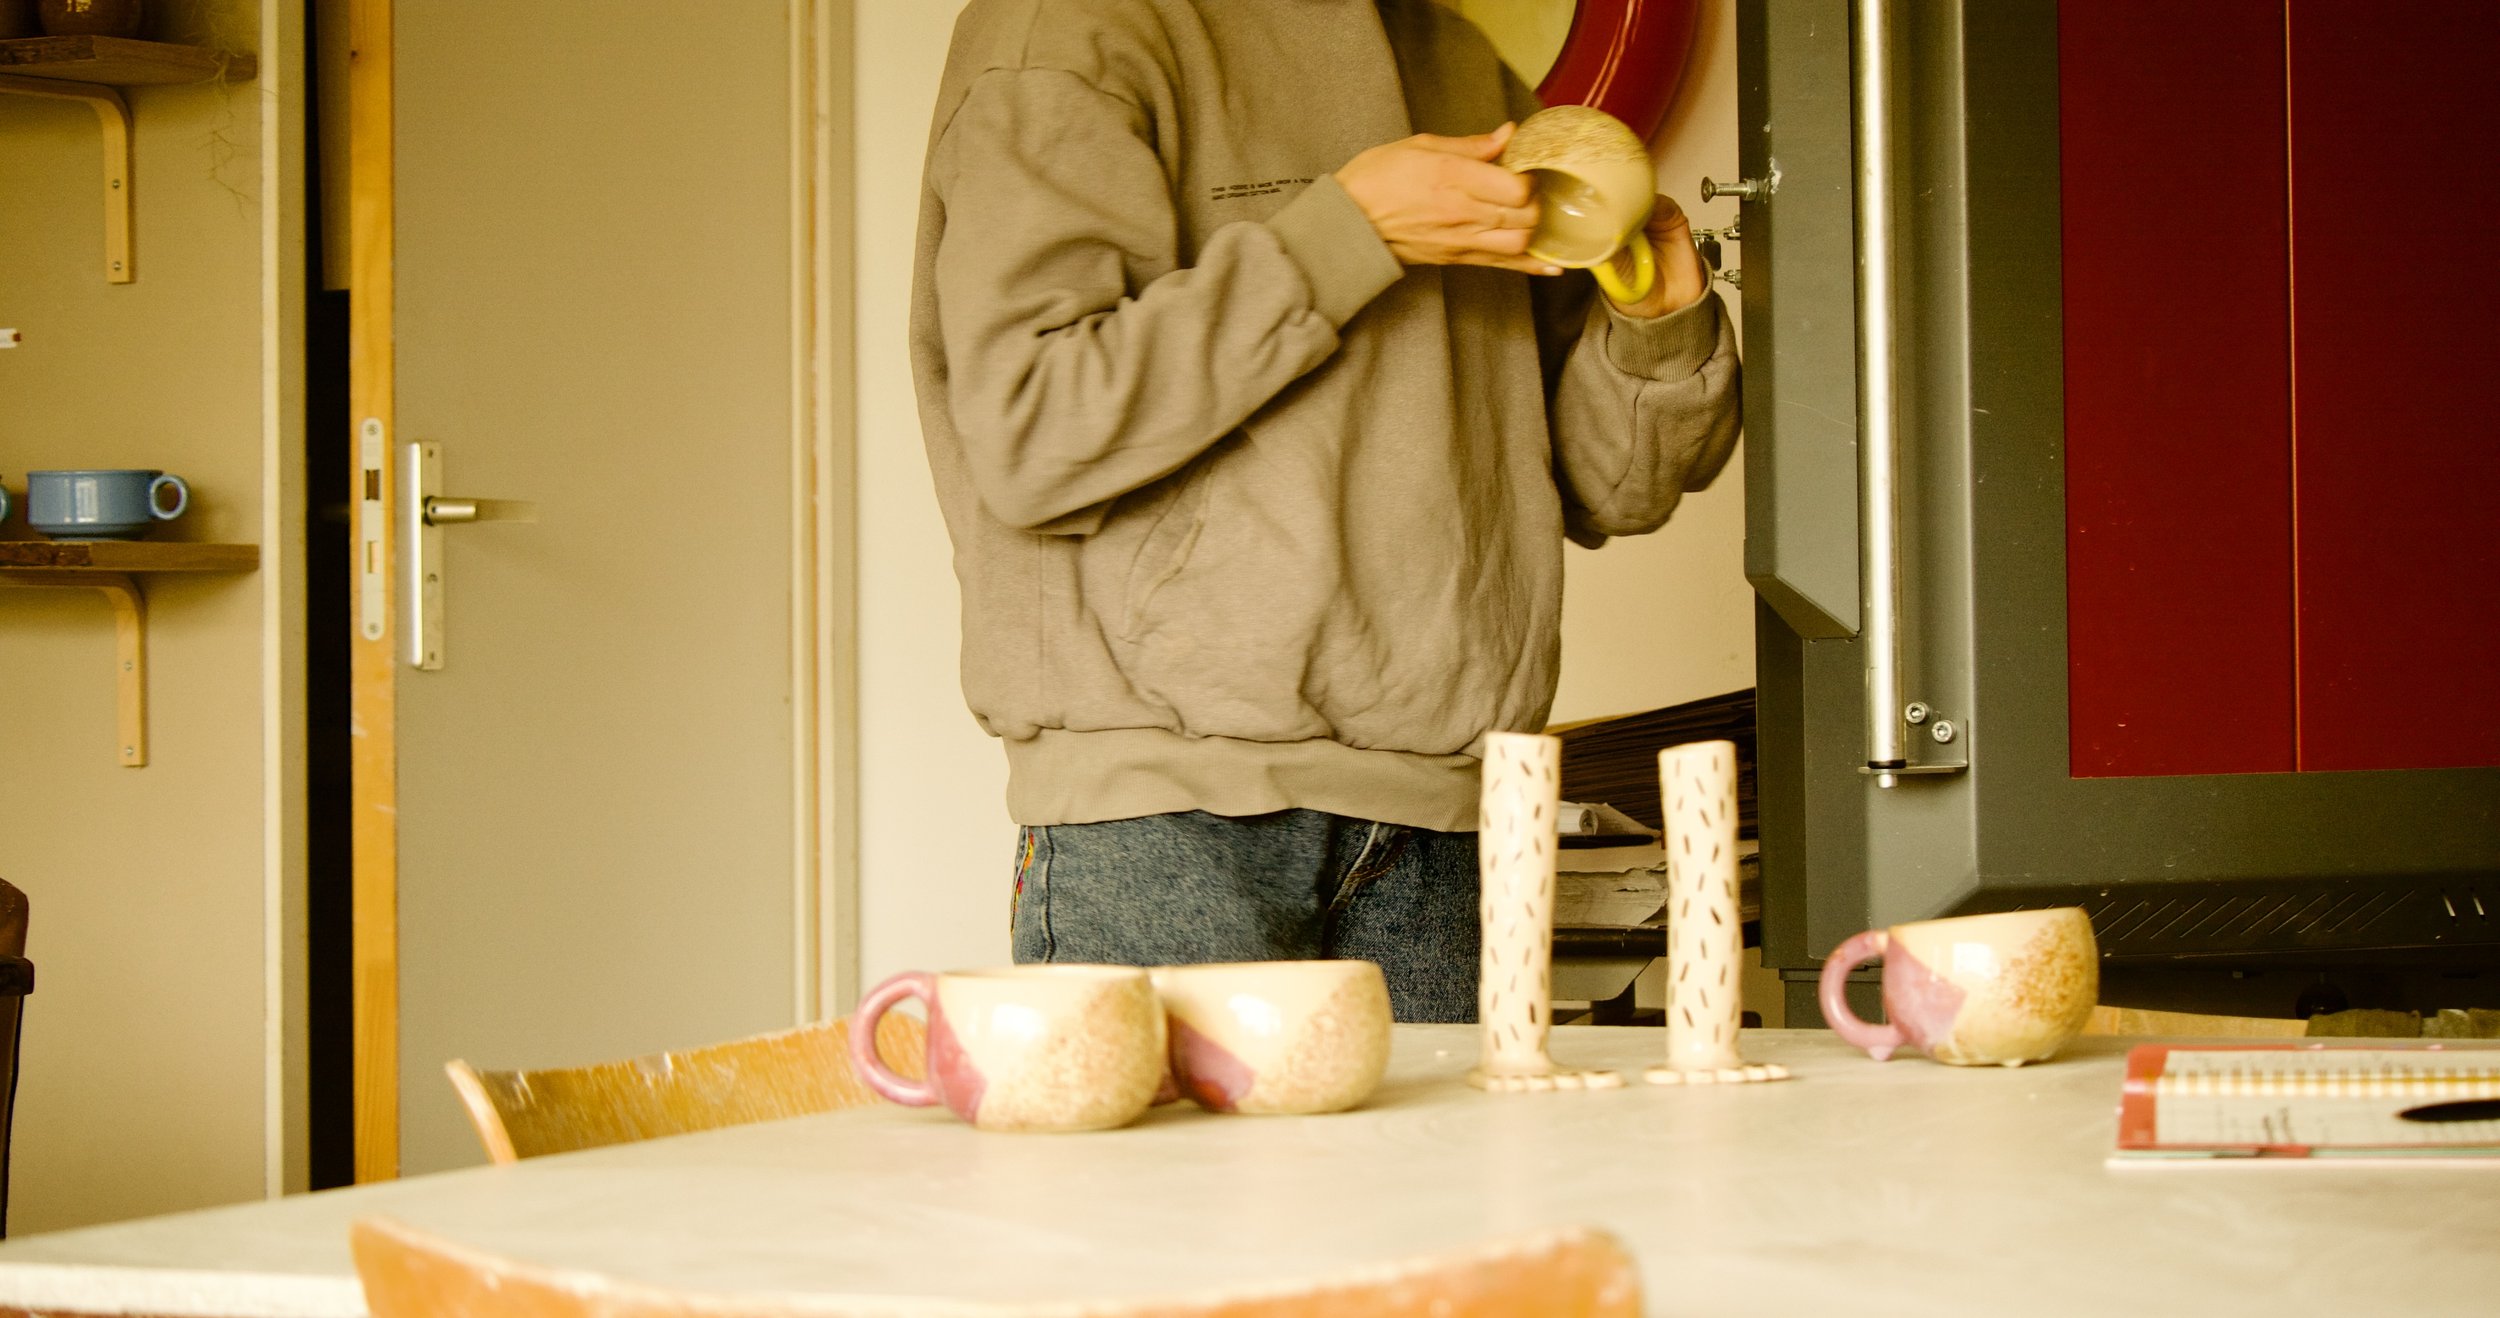
At the start, it’s just you and the clay
Beginning a ceramic piece usually starts with wedging the clay. This is where you kneed the clay to get any air-bubbles out and to create a homogenous mass. Once you’ve done this, you’re good to start throwing on the wheel or hand-building.
If you are throwing on the wheel, there is an extra step to the process. With handbuilding, you would just work directly with your hands and the clay to create a three-dimensional object. Wheel throwing requires that you first spin the clay into it’s form and then wait a day or two to trim off the bottom of the piece and finalize the look and shape.
With both techniques, once you’ve got your final look/shape you should let it dry until it is bone dry before putting it in the kiln.

Kiln Magic
In order for the kiln to bake your clay into ceramic, you need to first follow a few rules of thumb. To start, the clay should always be bone dry when entering the kiln. Bone dry means that all of the water has evaporated, and this usually takes a week or so to happen (depending on how humid/damp it is where you are). When I used to make pottery out of my leaky garden shed, I had to wait 2+ weeks for my clay to become bone-dry. Needless to say my impatience has resulted in many-a-kiln-explosions. I’m very grateful to have a nice and dry studio to work in now where the clay takes around 1-1.5 weeks to dry completely.
Once the clay is dry enough, it goes into the kiln for a bisque firing. In most cases, this is the first of two firings, and the temperature shouldn’t be too high where it totally bakes the clay, but instead just high enough where the clay becomes solid, yet still porous (able to absorb glazes). I usually set my kiln to 999º with a 2 minute hold to achieve bisque fired clay.
It’s all about how you glaze
Glaze can really make or break your work, literally and metaphorically. Glazing is somewhat of a science and in my years of working with glazes, I’ve still only scratched the surface. I’ve dealt with my fair share of glazing disasters to know that it’s truly satisfying when something comes out of a glaze firing exactly like you wanted it to, but honestly that is part of the fun! The ceramic process is one that is often filled with surprises, yet with every mistake comes a very vital lesson.
Glazing your bisque fired-work is a great way to add your own personal style to what you’ve created, but glaze also has a very functional aspect to it. Glazed ceramic is water-proof, meaning it’s a necessary step if you are making a vessel that needs to hold liquids. If you are reading this blog post after creating your own work in my studio and you’re wondering what options you have for glazing, check out this page that lays it all out for you.
Once your bisqueware has been glazed, it goes back in the kiln for round 2. This time, the kiln is going to be a bit hotter than before. Usually, I fire my glaze kiln to around 1100º-1200º depending on what type of glaze was used. Unlike before where you need to wait 1-2 weeks to fire your piece, once a piece has been glazed it can be popped right back into the kiln with little wait time. The kiln takes around 12-14 hours to get up to temperature and another 15-20 hours to cool completely.
The impermanence of art
Once the kiln cools to around room temperature, I open it up and start to carefully unload everything. It’s always a bit of a nail-biting surprise when opening a glaze kiln, perhaps because so much can go wrong and so much time has already been invested. Ceramics teaches us the impermanence of art, that just because our time and energy is poured into creating something, it is in fact the creation process that is so precious rather than the final, physical form. It is one of the most sour lessons to learn, but it makes art a lot more fun when you aren’t attached to what you are creating.